
May 22, 2026
Most homeowners know they want a better garage floor. Fewer stains, less dust, something that actually looks finished. What they don’t always know is what the process looks like from start to finish.
A professional floor coating isn’t a quick paint job. It’s a structured process that determines whether the floor will last for years or start failing within months. Knowing what to expect helps you spot quality work and avoid shortcuts that lead to peeling or chipping later.
Every project starts with preparation. The garage needs to be cleared completely so the entire surface can be accessed. Once the space is open, the concrete is evaluated.
This step looks for:
No two floors are exactly the same. Even newer garages can have hidden issues that need to be addressed before coating begins.
This is the step that separates professional results from short-term fixes.
Grinding the concrete opens the surface and creates a profile that allows the coating to bond properly. Without this, the coating sits on top instead of locking into the concrete. That’s when peeling happens.
During this phase:
Skipping or rushing this step is one of the most common reasons coatings fail. It’s also one of the hardest steps to replicate with DIY products.
You can learn more about the professional preparation process used in a polyaspartic floor coating.
Before any coating goes down, the floor needs to be structurally sound.
Cracks, pits, and damaged areas are filled and repaired. This does two things:
A floor coating is only as strong as the surface beneath it. Covering damage without fixing it leads to problems later.
Once the surface is prepped and repaired, the base coat is applied.
In a polyaspartic floor coating system, this layer bonds directly to the concrete. It acts as the foundation for everything that follows. Timing matters here because polyaspartic materials cure quickly and need to be applied with precision.
This is not a step where you want hesitation or guesswork. Proper mixing, timing, and coverage all impact how well the system performs.
If you want a direct breakdown of how these systems compare to traditional epoxy, read Polyaspartic vs Epoxy: Whats the Better Choice?
While the base coat is still active, decorative chips are broadcast across the surface.
This layer adds more than just appearance:
The difference between average and high-quality work often shows up here. Even chip distribution matters. Thin spots or uneven coverage stand out once the floor is finished.
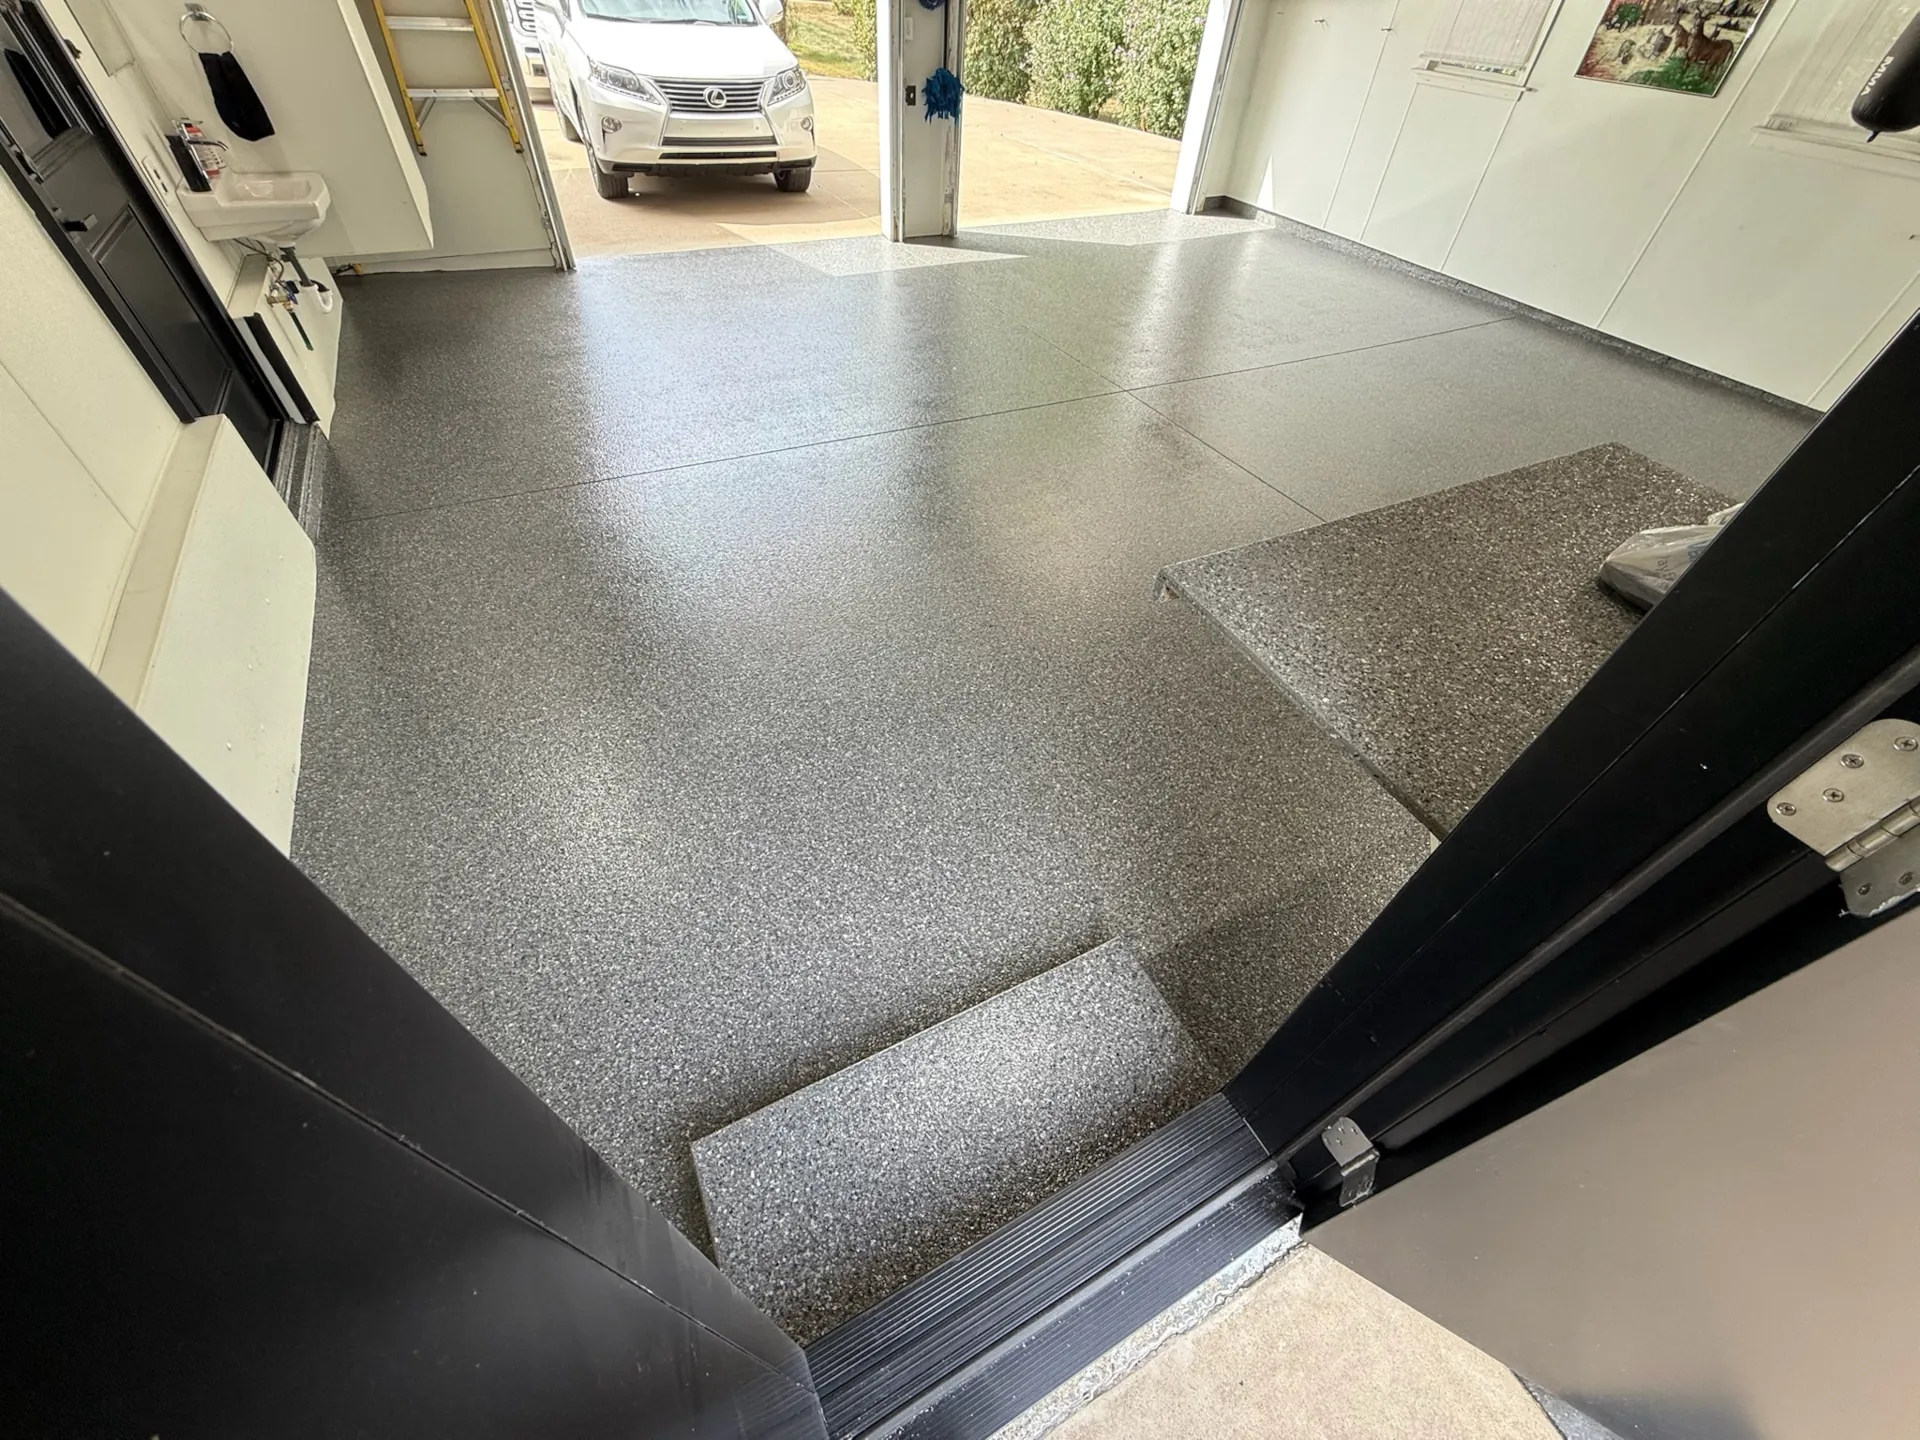
If you’ve looked through floor coating photos, the clean, uniform finishes are the result of careful application at this stage.
You can browse real projects to see how the finished system looks in actual garages.
After the base coat cures and the chips are set, excess material is removed.
The surface is scraped to knock down any sharp edges and create a smooth, consistent texture. Then it’s vacuumed again to remove loose debris.
This step ensures the final topcoat lies evenly and bonds correctly.
The final layer seals the entire system.
A polyaspartic topcoat provides:
This is what locks everything together. Once applied, the floor starts to take on its finished look.
For a deeper look at why polyaspartic performs better long-term, visit Why Polyaspartic?
One of the biggest advantages of a polyaspartic garage floor coating is speed.
Most projects are completed in a single day. The fast cure time allows:
That quick turnaround minimizes disruption without sacrificing quality.
The transformation is immediate.
Before:
After:
Floor before and after results often surprise homeowners. The garage starts to feel like an extension of the home instead of a neglected area.
Once the coating is in place, maintenance is simple.
The non-porous surface prevents stains from setting in, which makes upkeep minimal compared to bare concrete or older coatings.
Not every garage floor coating delivers these results. Problems usually come from shortcuts:
These issues lead to peeling, bubbling, or early wear. Most failures can be traced back to skipping steps, not the concept of coating itself.
A garage floor coating is more than a visual upgrade. It’s a system built on preparation, precision, and the right materials.
Understanding what to expect during the process helps you recognize quality work and avoid short-term fixes. When done correctly, a polyaspartic floor coating delivers a durable, low-maintenance surface that holds up year after year.
The difference shows up immediately, and it lasts. Contact the Poly Guys today!